During a new construction project, informed homeowners can take a proactive approach to engaging with their builder or contractor during key phases. By knowing what to look for, you can do your part to monitor and identify specific concerns, which could prevent costly issues down the road. After all, savvy homeowners and tenured craftsmen alike recognize that the advantage of taking a little more time upfront is potentially saving hundreds if not thousands of dollars in future time and materials.
Below, we take a look at several relatively simple check points that will bring added peace-of-mind to homeownership well into the future.
1.Check for Any Holes or Tears in the House Wrap
A detailed inspection of the house wrap is vitally important. Throughout the building process, perform regular inspection checks to identify any holes or tears as damage can happen as each new item is installed. Any damage should be repaired immediately as it can cause significant damage down the road.
Improperly installed or damaged house wrap can lead to major moisture intrusion in the wall system, making the entire building less energy-efficient, healthy and comfortable. Accumulation of moisture within wall cavities eventually leads to wood rot and mold which leads to expensive repairs.
Paired with uncontrolled air infiltration, the R-value of the wall assembly can be diminished, energy-efficiency can be drastically reduced, and the air quality can even be affected. Double and triple-check your house wrap on a consistent basis to attain a well-performing, healthy home.
2. Work With a Plumber on Piping
A plumbing mistake is much more costly today than it used to be due to modern materials using a unique blend of metals, alloys and plastics — along with stricter building regulations. Working with an experienced, reputable plumber to make sure your plumbing is done right the first time can save you in more ways than one.
The placement of all of your fresh water supply lines, sewer, drainpipes and plumbing vents should be installed in the right locations with the shortest distances possible to make any future repairs more efficient. Water pressure from a reliable water system is important as a homeowner, so verify that a water pressure regulator is installed early on to spot any problems throughout the build.
Working with your plumber to make sure all piping is wrapped completely is a must for areas with large temperature swings, long cold seasons or harsh weather. This can help prevent the pipes from freezing and keep you protected in your home.
3. Check the Flashing
There aren’t many areas more important to a home than the roof. Today, many roofers capture still images or drone video throughout installation to document that proper techniques have been applied to a project — often for warranty reasons. While it’s not recommended for non professionals to risk climbing onto the roof, you can review any visual documentation. A skilled roofer will check on the flashing regularly to guarantee it is anchored down correctly with screws and roofing cement, all holes are filled, no seams have leaks and the chimney is caulked.
4. Ensure All Siding Is Properly Sealed and Caulked
Once the framing of the home is completed and the siding has been applied, do a thorough survey of the siding and look for evidence of daylight between studs, sill plates at the top of the foundation, and where structural beams are mounted inside the exterior walls. If any daylight is visible, point out spotted areas where the builder/contractor can add sealants to fill the gaps.
Next, walk by the interior penetrations between floors at electrical and plumbing paths. Where penetrations exist, confirm an expanding foam has been applied. Make sure any gaps between windows and doors are caulked as even the smallest openings can cause significant damage.
A 1-inch square hole can take in 14 pints of water in a 2-week period, so ensure all your siding is properly sealed and caulked to protect the home from extensive water damage.
Taking each of these extra measures can help you avoid potential future damage and prevent costly callbacks for the contractor.

5. Ensure All Windows Are Installed Correctly
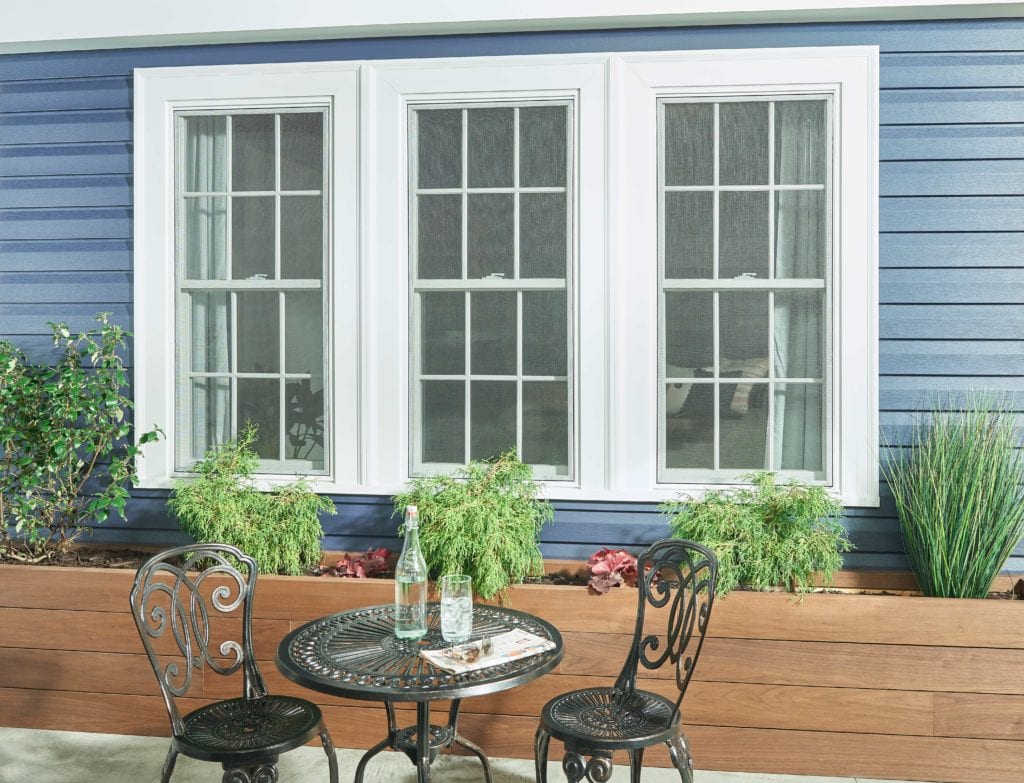
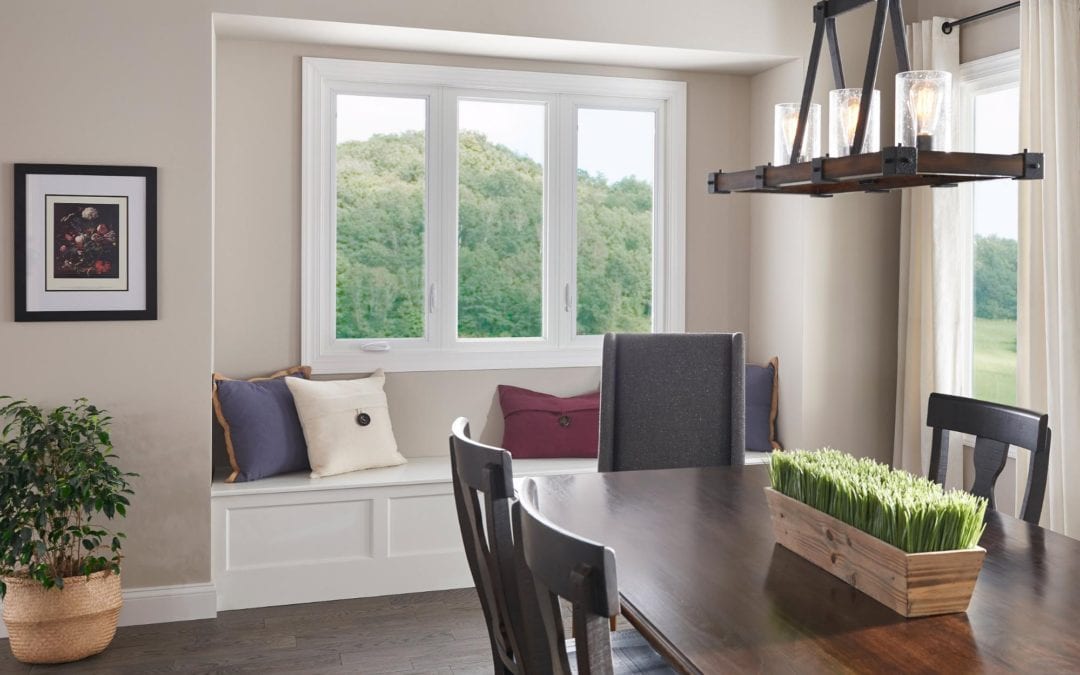
If you’re looking for cost-effective, energy-efficient and durable windows with an impressive variety of styles, sizes, colors and finishes — you can’t go wrong with vinyl windows. But, no matter the type of window you go for, ensuring they are installed correctly is paramount.
A vigilant contractor will be sure to check the windows before they are installed for any damage from transit. During and after installation, items to check include:
- Whether there are any holes and cracks around the windows.
- Potential glass damage.
- If there is any condensation (there shouldn’t be).
- If they are able to be opened and closed easily.
If you find any evidence of damage, take steps to get it fixed quickly. Many times your contractor can contact the window manufacturer for replacement glass or windows.
Select a window company with a dedicated team that can walk you and your contractor through the entire window buying process, including selecting, purchasing and installing, and will be there to have your back if you run into any unforeseen issues.
6. Take Photos Inside the Home Before the Sheetrock Is Installed
A growing trend in home building is a mini photoshoot before the sheetrock goes up. Having a record of where pipes, studs and wiring are can save homeowners and contractors time and trouble in the future. In the unlikely event of a dispute down the road, keeping photographic records can help prove how the work was completed.
Whether your builder offers this service or you perform the photoshoot yourself, it will be beneficial to save and print the photos or upload to a Dropbox or Google Drive folder that you have access to. This also provides a photo repository that can be transferred to future owners.
7. Have a Register
Once you select all the materials, paint colors, finishes, appliances and more, create a register for quick reference. Bring along your files during site visits throughout the build to make sure all paint colors, upgrades and finishes are what you’ve chosen, and inform your builder right away of any discrepancies. This will help reduce any conflicts during the final walkthrough between you and the builder – and will be a great resource for future decorating projects after the build is complete.

8. Test the HVAC System
As early as possible and continuously through the build, your builder should test the HVAC system along with all the electrical appliances because they combine into a large monthly expense of homeownership— especially if they aren’t working quite right.
Ask to meet on site at a time when your builder can perform these performance checks for you:
- Move the thermostat up and down to ensure heating and cooling sides are both responding. Rest a tissue against the intakes to test they are pulling air in and they have a nice flow.
- Test the light fixtures and all the outlets both during the build and once it’s complete. You never know when a wire got damaged during construction, and it’s better to find out an outlet isn’t working before the final walkthrough and avoid closing delays.
9. Select the Right Products
A seasoned builder knows that selecting the right products from the right suppliers can save a lot of time, money and hassle. Similarly builders are aware of the climate and the importance of installing products that fit the weather requirements year-round, not just during the time of the build. This includes exterior items such as siding, windows, doors, roofing and insulation.
As a homeowner, aim to select reliable, high-quality, durable products. It can be tempting to become swayed by a sale or cheaper option, however opting for products that are low maintenance and well-made, more often than not will reap you benefits in the long run. If you are unsure where to invest extra money upfront, a conversation with your builder may bring clarity to the long-term benefits of specific products – and help you feel more confident in your purchasing decisions.
As a bonus, when you select products that are easy for your contractor to install, it can significantly reduce installation time and reduce expenses. A proper warranty should always be included to protect you from unnecessary liability and expenses. Take windows for example.
It is key to pick a window product that is durable, offers reliable and easy homeowner maintenance— and straightforward to install. Paradigm’s custom window products are all backed by a Lifetime Materials Warranty, which includes five years of labor. Additionally, their NEAT+ glass solution includes an invisible coating technology that reduces dust and dirt buildup on the window surfaces.

Want to learn more about how Paradigm Window Solutions can help save you money and time on your new build? Find a distributor near you using our Dealer Locator.

